How to Repair Boat Seats - an Overview
Repair of boat seats - a Guide
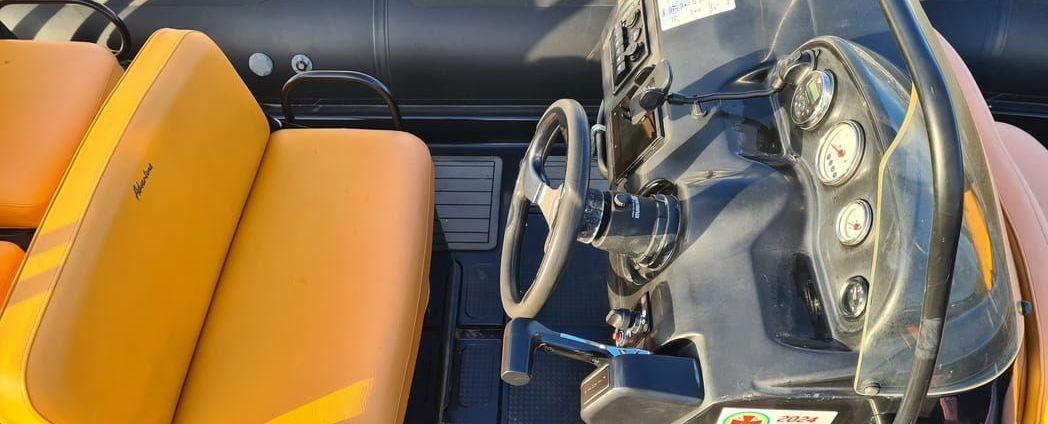
Boat seats endure a lot of wear and tear from sun exposure, water, and constant use. Over time, they can develop cracks, tears, and other signs of damage. While replacing boat seats can be expensive, repairing them yourself is a cost-effective and satisfying alternative. This guide will walk you through the steps to repair your boat seats, ensuring they look and feel as good as new.
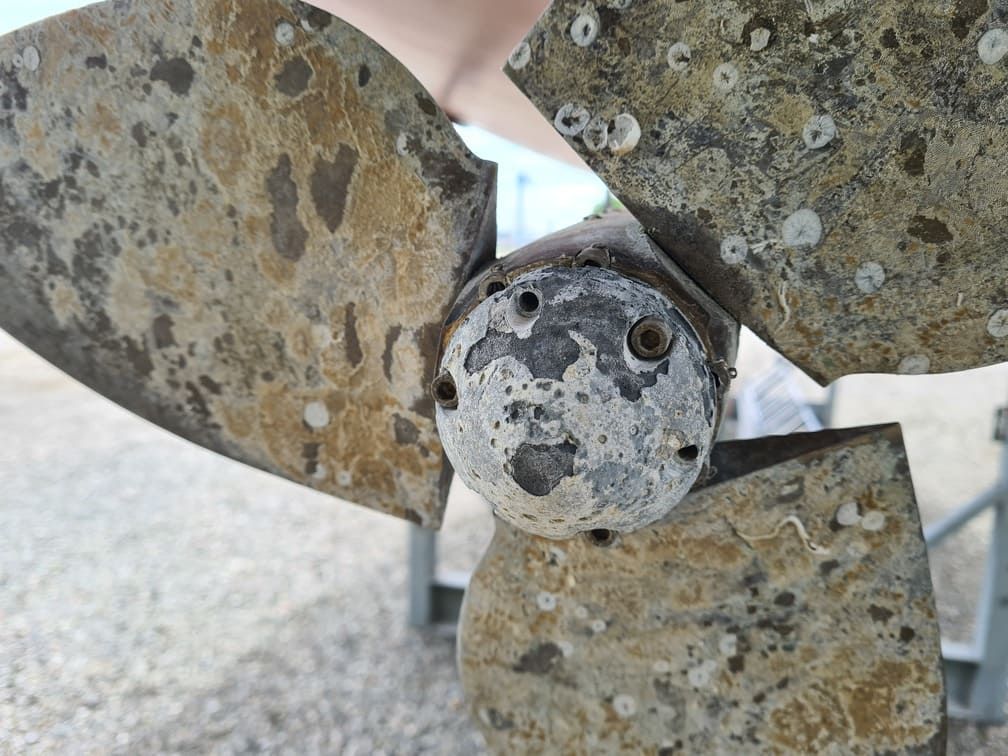
Are you looking for a service? With boat repair Jacksonville fl you will find the best service for you.
Understanding Common Boat Seat Issues
Before diving into the repair process, it's essential to understand the common problems that boat seats encounter:
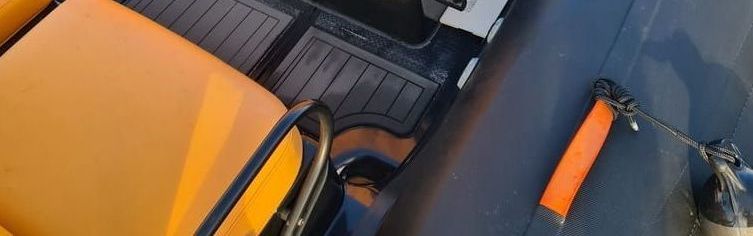
- Cracks and Tears in Vinyl: The most common issue, caused by UV exposure, frequent use, and aging.
- Foam Deterioration: Over time, the foam padding can break down, losing its shape and comfort.
- Loose Seams: Seams can come undone due to the stress of constant use.
- Mold and Mildew: Moist environments can lead to mold and mildew growth, which is not only unsightly but also unhealthy.
Tools and Materials You’ll Need
To repair boat seats effectively, gather the following tools and materials:
- Vinyl repair kit
- Marine-grade vinyl fabric
- Heavy-duty sewing machine or needle and thread
- Foam padding
- Adhesive (spray and vinyl-specific)
- Staple gun and stainless steel staples
- Scissors
- Utility knife
- Cleaning supplies (soap, water, mildew remover)
Step-by-Step Guide to Repairing Boat Seats
Step 1: Assess the Damage
Start by carefully examining your boat seats to determine the extent of the damage. Identify all the cracks, tears, and areas with foam deterioration. This assessment will help you decide whether you need to patch small areas or replace entire sections of vinyl and foam.
Step 2: Clean the Seats
Before starting any repairs, clean the seats thoroughly. Use soap and water to remove dirt and grime, and a mildew remover if necessary. Ensure the seats are completely dry before proceeding with repairs.
Step 3: Repairing Small Cracks and Tears
For minor damages, a vinyl repair kit is your best friend. These kits usually include a variety of vinyl colors, adhesive, and a patch material. Here’s how to use it:
- Trim the Damaged Area: Use scissors or a utility knife to trim any loose or frayed edges around the crack or tear.
- Apply Adhesive: Follow the instructions on your vinyl repair kit to apply adhesive to the damaged area.
- Place the Patch: Match the patch color as closely as possible to your seat’s vinyl. Apply the patch over the adhesive and press firmly.
- Let it Cure: Allow the adhesive to cure as per the kit’s instructions. This usually takes a few hours.
Step 4: Replacing Large Sections of Vinyl
If the damage is extensive, you may need to replace larger sections of the vinyl upholstery. Here’s a step-by-step process:
- Remove the Seat: Unscrew and remove the seat from your boat to make it easier to work on.
- Remove Old Vinyl: Carefully remove the staples holding the old vinyl in place using a staple remover or pliers. Take off the vinyl to expose the foam padding.
- Inspect and Replace Foam: Check the foam for any damage. If it's worn out or deteriorated, replace it with new foam padding. Cut the foam to size and secure it with adhesive.
- Cut New Vinyl: Lay the old vinyl on top of your marine-grade vinyl fabric and trace its outline. Cut the new vinyl to size, ensuring you leave extra material for stapling.
- Attach New Vinyl: Start by stapling the vinyl at the center of each side, pulling it tight as you go. Work your way to the corners, smoothing out any wrinkles. Ensure the vinyl is taut but not overstretched.
- Reattach the Seat: Once the new vinyl is securely in place, reattach the seat to your boat.
Step 5: Repairing Loose Seams
Loose seams can be repaired with a heavy-duty sewing machine or by hand using a strong needle and thread. Here’s how:
- Remove the Seat: As with replacing vinyl, it’s easier to work on the seat if you remove it from the boat.
- Secure the Area: Use clips or pins to hold the loose seam together while you work.
- Sew the Seam: Using a heavy-duty sewing machine or needle, sew along the original seam line. Make sure your stitches are tight and even.
- Reattach the Seat: Once the seam is repaired, reattach the seat to your boat.
Step 6: Preventing Future Damage
To extend the life of your boat seats and prevent future damage, follow these tips:
- Use Seat Covers: Protect your seats from UV rays, dirt, and moisture by using high-quality seat covers.
- Clean Regularly: Regular cleaning can prevent the buildup of dirt and mildew.
- Apply Vinyl Protectant: Use a marine vinyl protectant to shield your seats from UV damage and keep them supple.
- Proper Storage: Store your boat in a covered area or use a boat cover when not in use to protect it from the elements.
Conclusion
Repairing boat seats may seem daunting at first, but with the right tools and a bit of patience, you can restore them to their former glory. Whether it’s patching small tears or replacing large sections of vinyl, following these steps will help you achieve professional-looking results.
You might also like
More Information and Stories about the boat repair!